After having had many inquiries recently as to how I create concentric, circular quilting lines on my quilts, I decided to put together a little tutorial that I hope you will find helpful. There are, of course, many methods for doing this. This is the way I have discovered works well for me.
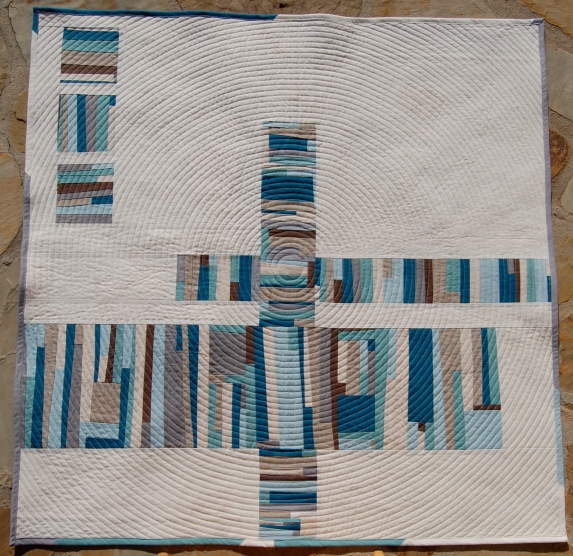
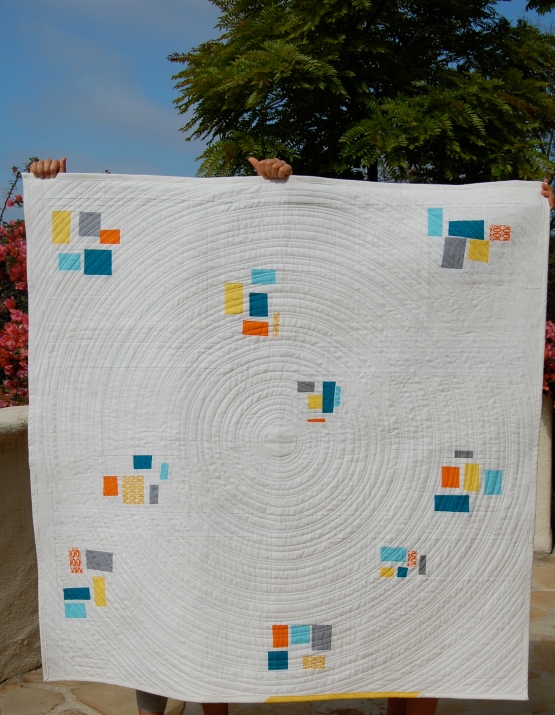
Here are some examples of quilts I have created and quilted with concentric circles. These both happen to be square, however you could quilt circles on any size or shape quilt and acheive a different result.
On the first one I chose to space the lines evenly apart, for the second one, you’ll notice I chose to vary the widths of the lines. This is obviously a personal, creative choice.
Another thing to keep in mind is that there are many options for the placement of the beginning circle. I have chosen so far to place mine in the center, but you could start yours in a corner or off center if you like. Again, a creative choice that you get to make on your quilt!
**For this example/tutorial I chose a very basic center placement on a square quilt.**
Now then let’s get to it!!
To start, you’ll need your quilt sandwich, preferrably still taped to the floor or table.
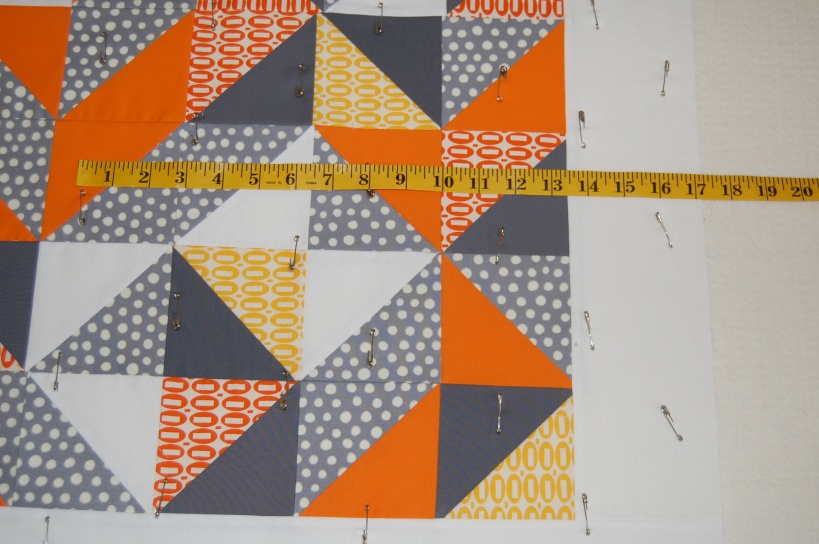
This quilt here measures 34 1/4 inches square.
To find the center point, you’ll need to divide the sqare in half (if your quilt is 20 inches, measure 10 inches in from the edge). For my 34 1/4 inch quilt, I measured 17 1/8 inches from a side edge and the top/bottom edge.
Where these two measurements meet, you’ll mark the “center dot” with a washable, fabric safe marker or pencil of your choice.
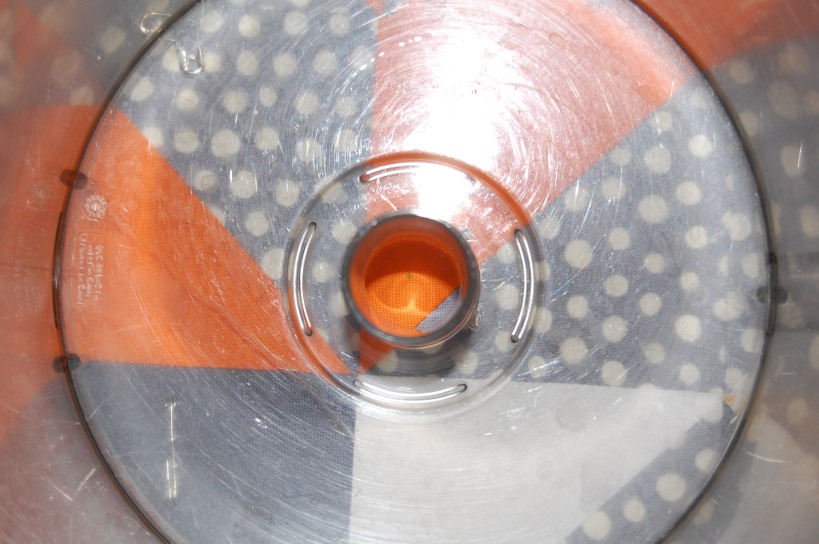
I use my food processor bowl for this next step, however anything that has a smallish hole going all the way through (even just a paper plate with a small center hole) that will allow you to find the marked center point, will do. I like the size of this circle because it it easy to quilt around and get a smooth, initial line which is important as this will be what establishes the rest of your circles. The smaller and closer to center you get, the harder it becomes to make them smooth and consistent-I’ll come back to that at the end!
I place my clean FP bowl over the point I have marked, making sure this point is in the center of the hole (I just eyeball it here).
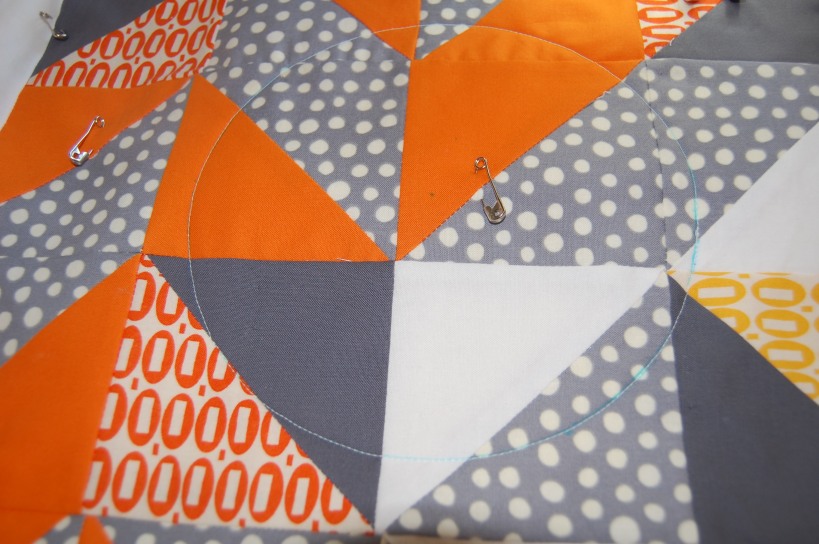
The next step is to carefully trace around the outside of the bowl or whatever circular item you’re using, making sure to use a washable, fabric safe pen. This will be your initial quilting line. You are ready to begin quilting!
You are now ready to load your selected thread, attach your walking foot, and begin quilting!
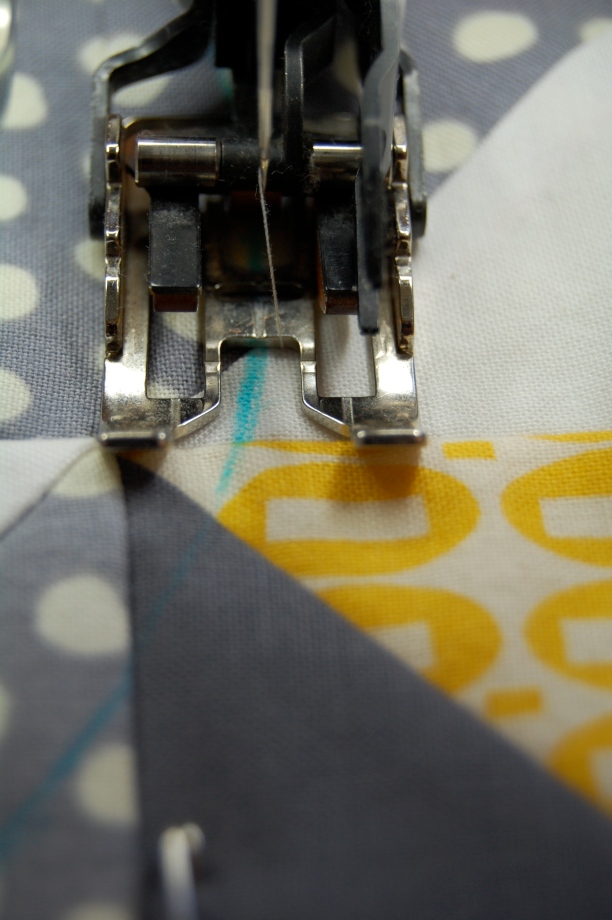
To create your first quilted circle you’ll line up the marked line with the center guide on your walking foot.
Slowly begin quilting this first line, by gradually and slowly turning your quilt under your machine. I like to end each circle by going over the beginning of the circle with a few extra stitches to secure them.
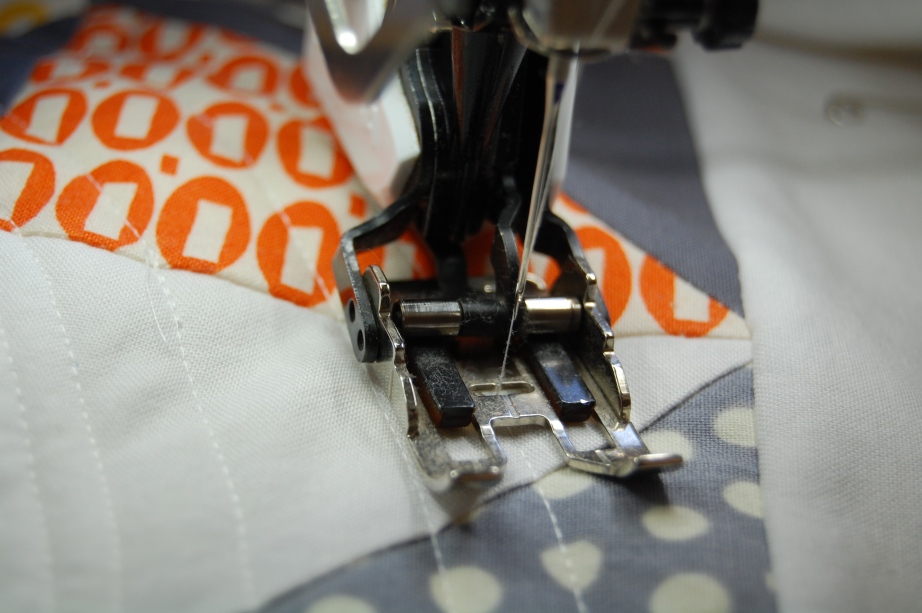
At this point you are ready to begin on the rest of the lines. This is where it starts getting fun! If you choose to keep all your lines the same width apart then you’ll decide what size you want and establish your guide. This guide could be the edge of the presser foot,
or you could adjust the actual walking foot guide to the width you choose. Then if you choose to vary the widths you can use ALL these guides, randomly, or in a particular order– like I said, this is the fun, creative part.
You’ll soon find a nice rhythm. The important part here is to go slow enough that you can smooth your quilt as you go in order to keep from getting puckers between your lines. This just seems to take practice and patience!!
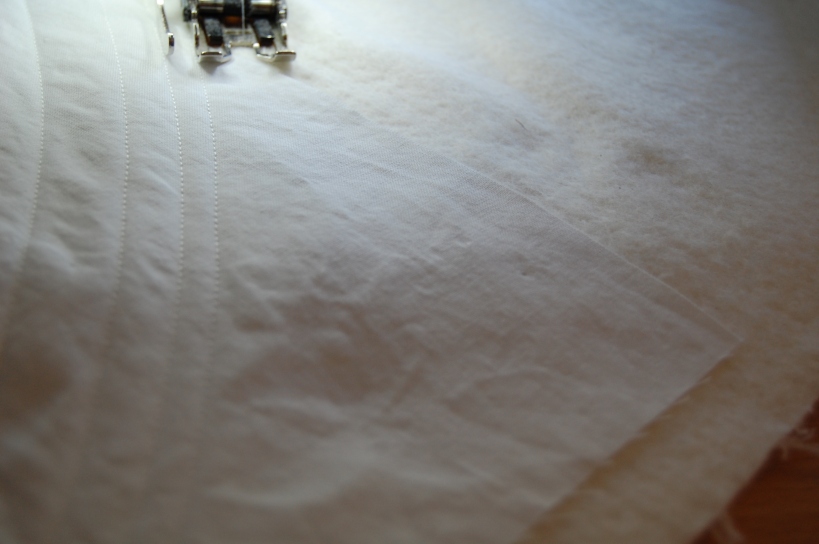 You just continue this process all the way out to the four corners. Here I just work on the corners rather than turning the whole quilt for each line.
So now that you’re finished with the outer lines you can then start on the lines going in toward the center. Beginning again at your initial circle, you just repeat the process. As your circles become smaller, the quilting becomes more difficult. Acheiving a smooth line here takes some practice and I am still in that phase. For each quilt it seems to get easier but I still end up unsewing because it’s just not smooth enough.
***Since I first wrote this tutorial, I have tried again (the first time didn’t go so well) with my free motion foot and had more success. Enough that I feel I can recommend using this method for those small inner circles.
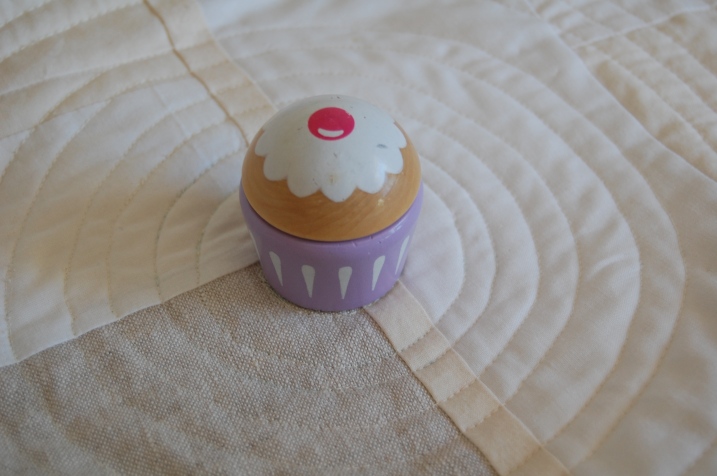
I simply find a circular item that is the size I want, and trace around it on my quilt. In this case, it was some of the girls’ toys.
After tracing my circles, I attach my free motion foot, drop those feed dogs and go really slowly around the lines I’ve traced(not shown here).
This took me a few tries to get it as smooth as I wanted, but was pretty easy and achieved the look I wanted.
Now all that’s left is the binding!!
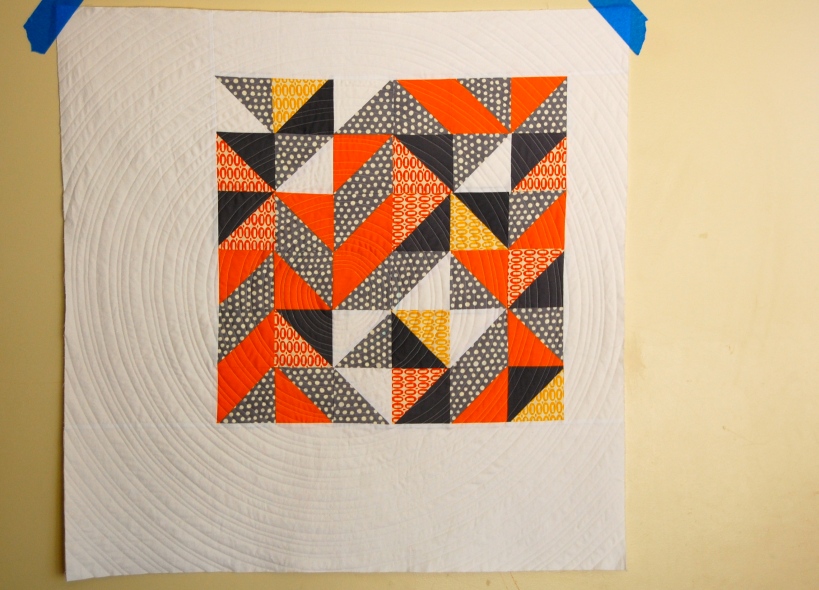
I finished the binding! You can see the completed quilt here!
Feel free to add your photos to my new Flickr Group. I’d love to see all the circle quilted creations out there. This is also a great place to get feedback on challenges or successes you’re having with this method, in the discussion section! Come on over and take a look, add some photos and get more quilty inspiration!!
I hope you find this information helpful and that you enjoy quilting circles on your quilt! As always I’m happy for any feedback. Enjoy!









47 Comments
Post a commentgreat job! maybe i’ll be brave enough to try it! (i’ll need a top first…!)
I, too, am motivated to give this a try. Thanks for another great post Karen! And thanks for your “thank you kindly” – it’s something my Dad used to say all the time and it made me smile. xo
You have such a nice sewing machine too! I think that really helps with something like this. If I did a concentric circle I know I’d struggle with “dragging” in the fabric between the lines even with basting well and using a walking foot.
Looks great. I did a spiral the last time I quilted because I didn’t feel up to all the starting and stopping. But it is impressive. Maybe someday.
Thank you so much for explaining this. I an going to give this a try!
this is a great tutorial. thank you for sharing.
Great tutorial. Well written. I will definitely give it a try!
This is just the information I was looking for today! Thank you! I’m going to try this on a baby quilt tonight.
Just yesterday I got frustrated trying to do some circular quilting – I’d put it aside to think about as I wasn’t happy with my first circles. IThey were wonky not matter what I did, but your tutorial has helped me see that I should start further out where it is easier to move the fabric. Thanks for sharing this information. I am keen to have another go now!
This looks amazing!! I will definitely have to give it a try!
This looks doable for me and I’m a beginner. Thanks for sharing. Quick question – do you clip your threads with every completed circle or just move the quilt over?
Thank you, your tutorial encourages me to branch-out.
I have a suggestion for the smaller circles. You need to put something underneath your quilt that you can put a drawing pin in. A piece of cardboard may work if you tape it down so it cannot move. Set the quilt up ready to sew for the circle you are sewing.Then put a drawing pin through the centre of your quilt into the the cardboard. If you sew slowly the quilt should rotate around the drawing pin through the centre of the quilt into the cardboard and give you a nice even circle.
One of my sewing machines has a series of small holes in the free arm spaced at 0.5 inches for doing this.
I always quilted my concentric circles free-motion and thought that you were really good at free-motion. It is hard to keep things really consistant for the larger circles with my method but the small circles are easiest. Maybe if you follow a marked line that would work for your small ones.
Thanx for sharing….i will try this soon…
Very good tutorial, thanks! Am smiling at the FP bowl…it makes me want to whip up a batch of nut bars before commencing to quilt, lol.
amazing – you are a brilliant artist. and i love seeing household items being used instead of some fancy expensive “circle maker” doodad.
This is amazing! Thank you so much for sharing!
Fantastic! thanks for all the photos and your detailed encouragement! you make it round so achievable. if I do give this a try I’ll post some pics onto your Flckr group.
just wonderful.
What an awesome tutorial! Thank you so, so much!
Love your work! Also love the texture concentric quilting lines create. Thank you for sharing the how-to! I am a little old-school and always stabalize the quilt sandwich by stitching in the ditch. It doesn’t appear that you do this. Do you have a problem with the layers shifting without stitching in the ditch on available straight lines?
This is such a great tutorial. Very approachable and inspiring!
I am truly amazed and impressed by your creative talent. I am in awe and will try to replicate your cocentric cirlcle quilting. Beautiful quilts and designs.
This is a great tutorial! I have one question tho, since ur not starting with the smallest circle do u find that the quilt puckers any as u go in towards the center?
Thanks Kelie! That’s a great question! I have not found puckering in the center as I get in toward the smaller circles to be a problem. As I’m quilting my first sort of “foundation” circle, I do take time to make sure my quilt is smoothed out and taut as I’m going around slowly with my walking foot! Hope that helps! 🙂
Thank you for this tutorial. I have been wondering if it were possible for me to quilt concentric circles with my conventional sewing machine. I’m really excited to try this out. I like the idea of tracing a “guide” circle close to the middle of the quilt. Great tutorial. Thanks a million!
Really enjoyed your tutorial and plan to give it a try. I love the idea of using your technique for baby quilts. Thank you for sharing. I noticed you have a Bernina. There is an attachment called Circular Embroidery Attachment #83 for Berninas. Since you can sew circles from 1-1/2″ to 10-1/2″, it might make quilting the smaller circles a lot easier. I think it might be worth a try.
Awesome tutorial! The instructions were clear and straightforward, making a novice quilter like myself excited to give it a try!
Thanks so much! Hope you enjoy the process!!
Thank you for the tutorial I am about to do some circular quilting so exactly what I needed. Great work.
Thank you so much for your tutorial… I now have an idea on how to quilt a pixelated quilt that I am doing
Thank you for showing how this is done.
Trackbacks & Pingbacks